As reinforced concrete structures become larger and more complex, reliable reinforcement connections are essential for maintaining structural strength and construction efficiency. Traditional lap splicing methods often require additional steel consumption and create reinforcement congestion in heavily loaded areas. As an alternative, mechanical splicing systems using rebar couplers provide a more efficient solution for connecting reinforcing bars.
However, the performance of a mechanical splice depends greatly on correct installation procedures. Proper rebar coupler installation ensures that reinforcing bars achieve the required strength, alignment, and load transfer performance throughout the service life of the structure.
Whether used in high-rise buildings, bridges, tunnels, industrial facilities, or infrastructure projects, a correctly installed coupler provides a secure coupler rebar connection while simplifying construction processes.
This guide explains the preparation steps, installation methods, inspection requirements, and common problems associated with rebar coupler installation, helping engineers and contractors achieve reliable reinforcement connections.
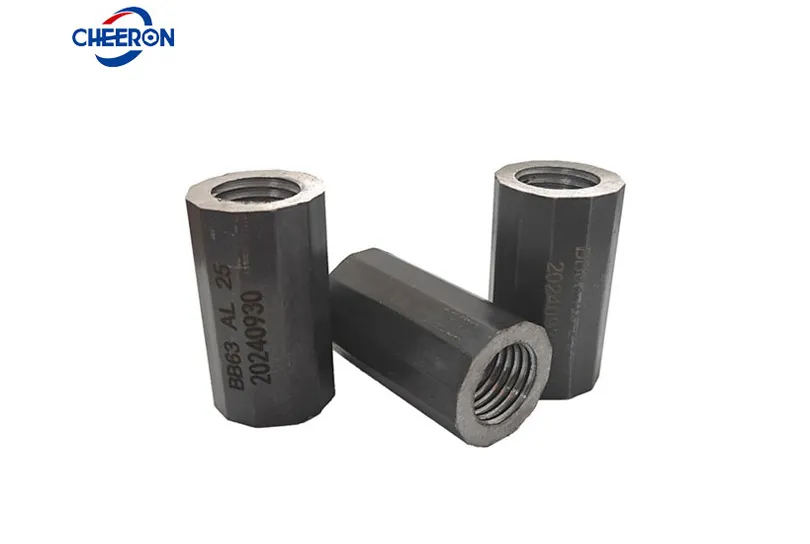
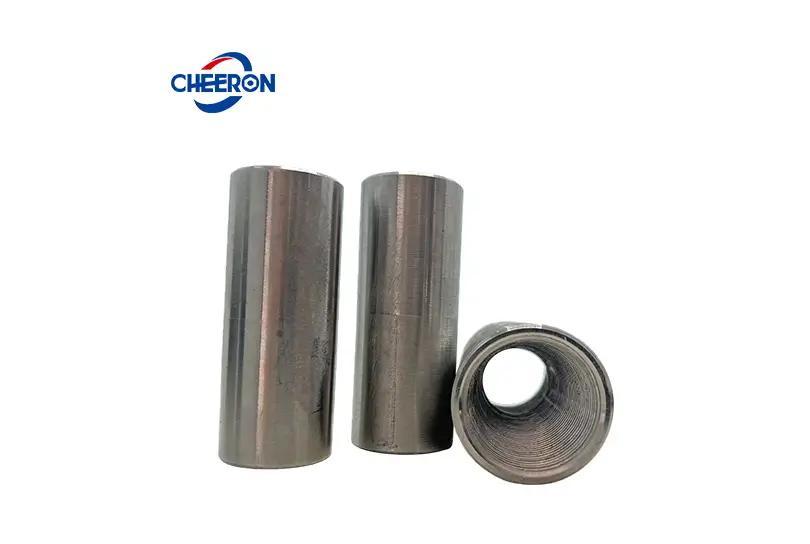
Rebar coupler installation refers to the process of connecting two reinforcing bars using a mechanical connector instead of traditional overlapping reinforcement methods. A rebar coupler creates a direct structural connection between steel bars, allowing tensile and compressive forces to transfer efficiently through the joint.
A typical installation involves preparing the reinforcing bar ends, inserting or threading the bars into the coupler, securing the connection according to specified requirements, and performing quality inspections.
Unlike conventional lap joints, a rebar joint coupler reduces reinforcement congestion and allows designers to optimize structural layouts. This is especially beneficial in areas with dense reinforcement, limited space, or projects requiring faster construction cycles.
A properly completed coupler joint in reinforcement provides reliable structural continuity when the correct coupler type, installation method, and inspection procedures are followed.
Before beginning rebar coupler installation, proper preparation is essential to ensure connection reliability. Poor preparation can lead to misalignment, incomplete engagement, or reduced load capacity.
The first step is verifying that the selected coupler matches the reinforcing bar diameter, steel grade, and project requirements. The reinforcement bars should also be inspected for damage, excessive bending, contamination, or surface defects.
Construction teams should review installation drawings and confirm the required connection locations before starting work. Proper planning helps avoid installation delays and ensures that the coupler rebar connection meets engineering specifications.
Environmental conditions should also be considered. Excessive moisture, dirt, oil, or debris around the connection area may affect installation quality, especially for threaded systems.
The tools required for rebar coupler installation depend on the coupler design and connection method. Threaded systems, for example, require different equipment compared with welded or mechanical locking systems.
Common installation equipment includes:
Rebar cutting and preparation tools.
Threading machines for threaded coupler systems.
Torque wrenches or tightening tools.
Measuring gauges for checking thread engagement.
Cleaning tools for removing debris from bar ends.
Inspection equipment for quality verification.
Using the correct tools helps maintain consistent installation quality. Improper tools or incorrect tightening methods can affect the performance of rebar splice connectors and reduce connection reliability.
Preparing reinforcing bar ends correctly is one of the most important stages of rebar coupler installation.
For threaded coupler systems, bar ends must be cut accurately and processed according to manufacturer specifications. The threads must have the correct dimensions, surface condition, and length to ensure complete engagement inside the coupler.
Before connection, workers should remove rust, dirt, oil, and other contaminants from the bar surface. The bar ends should also be checked for straightness because excessive deformation may prevent proper alignment.
For a reliable coupler rebar connection, the prepared bar ends must fit smoothly into the coupler without forcing or excessive adjustment.
The exact installation process varies depending on coupler type, but most systems follow several fundamental steps:
| Installation Step | Main Action |
|---|---|
| 1. Verify Components | Confirm coupler size and reinforcement specifications |
| 2. Prepare Bar Ends | Cut, clean, and process reinforcing bars |
| 3. Insert Bars | Position bars correctly inside the coupler |
| 4. Secure Connection | Tighten or lock according to requirements |
| 5. Inspect Joint | Verify alignment and engagement |
Following a controlled procedure ensures that every rebar joint coupler performs according to design expectations.
A standard threaded rebar coupler installation requires accurate preparation of the reinforcing bar ends and proper engagement between the threads and coupler body.
The installation process typically begins by inserting one threaded bar into the coupler until the required engagement depth is reached. The second bar is then inserted from the opposite side and tightened until the specified connection condition is achieved.
Correct tightening is important because insufficient engagement may reduce load transfer, while excessive force may damage the threads or coupler components.
A properly installed threaded rebar joint coupler provides a strong mechanical connection while maintaining reinforcement continuity.
In many construction situations, reinforcing bars cannot be rotated because they are already fixed inside columns, walls, or complex reinforcement assemblies.
Specialized coupler systems are designed for these applications. These solutions allow workers to connect bars without requiring full bar rotation, making them suitable for restricted installation areas.
Examples include:
Column reinforcement connections.
Precast concrete assembly.
Large foundation structures.
Congested reinforcement zones.
These systems improve construction flexibility while maintaining reliable coupler joint in reinforcement performance.
Proper tightening is a critical part of rebar coupler installation. The connection must achieve sufficient engagement without damaging the coupler or reinforcing bar.
For threaded systems, installation teams should verify:
Required thread engagement length.
Correct tightening torque.
Proper alignment between reinforcing bars.
Absence of visible gaps or incomplete connections.
Incorrect tightening is one of the most common causes of poor-performing rebar splice connectors. Following manufacturer installation requirements helps ensure consistent mechanical performance.
Different structural elements may require different approaches to rebar coupler installation.
In columns, couplers are often used to connect vertical reinforcement between construction stages. Proper alignment is essential because even small deviations can affect structural assembly.
In beams, couplers help reduce reinforcement congestion and provide flexibility during fabrication and installation.
For reinforced concrete walls, mechanical connections allow reinforcement continuity while simplifying construction sequencing.
Across all applications, the quality of the coupler rebar connection directly influences structural reliability.
Inspection is a necessary step after completing rebar coupler installation. A properly installed connection should be verified before concrete placement or final structural assembly.
Inspection typically includes checking:
Coupler size and product identification.
Bar alignment.
Thread engagement or locking condition.
Tightening requirements.
Visible damage or installation defects.
For critical structures, additional testing methods may be required according to project specifications.
Quality inspections help confirm that every rebar splice connector meets the required performance standards.
Several common issues can affect the performance of a mechanical reinforcement connection.
Typical problems include incorrect coupler selection, damaged threads, insufficient engagement, poor alignment, contamination on bar surfaces, and improper tightening.
Another frequent issue is using incompatible reinforcing bar grades or failing to follow manufacturer installation procedures.
These problems can reduce the effectiveness of the rebar joint coupler and may create safety risks in structural applications.
Proper training, preparation, and inspection significantly reduce installation errors.
Correct alignment is essential for achieving a reliable coupler rebar connection.
To prevent installation problems, workers should ensure that reinforcing bars are straight before connection and that couplers are installed according to approved procedures.
Using alignment guides, checking engagement depth, and performing visual inspections can help identify problems before they affect structural performance.
Incomplete thread engagement is often caused by improper preparation or insufficient tightening. Regular quality checks during installation help prevent these issues.
Before approving a completed connection, construction teams should confirm the following:
Correct coupler type and size selected.
Reinforcing bar ends properly prepared.
Coupler installed according to instructions.
Required engagement achieved.
Bars properly aligned.
Connection inspected and documented.
This checklist helps ensure consistent quality for every rebar coupler installation project.
Rebar coupler installation is the process of connecting reinforcing bars using mechanical couplers instead of traditional lap splicing methods.
Rebar couplers reduce reinforcement congestion, save steel consumption, and provide efficient connections in complex concrete structures.
The quality of a coupler rebar connection depends on correct coupler selection, bar preparation, installation accuracy, tightening procedures, and inspection.
Yes. Specialized coupler systems allow installation in restricted areas where reinforcing bars cannot be rotated.
A rebar joint coupler should be checked for proper engagement, alignment, tightening condition, and compliance with project requirements.